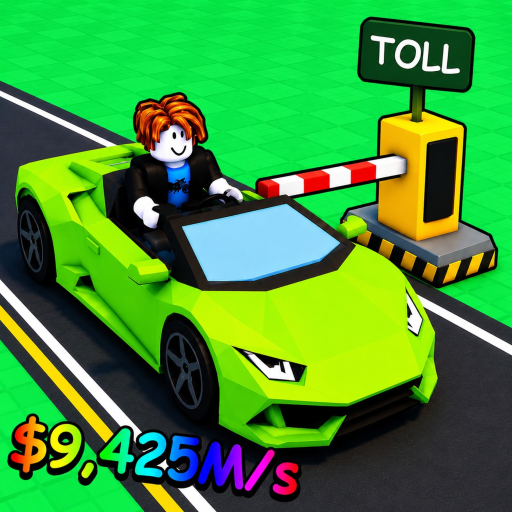
First Plot Setup & Baseline Loop
Player Task: Understand the central CAR RNG prompt, populate open car pads, collect traffic toll income, and avoid spending on high-cost rolls prematurely.
A structured progression roadmap for My Toll Farm. Pick your current game stage to find the exact decision guide, baseline checks, and verified mechanics without speculative filler.
My Toll Farm guides are organized by player progression lifecycle rather than generic topic lists. Choose Stage 1 if you are setting up your initial plot; Stage 2 if your pads are full and you need upgrade priority; Stage 3 before executing a Rebirth; and Stage 4 to verify newly reported event features.
Each guide owns a specific player decision. Use this roadmap to locate the exact guide for your current game state.
Player Task: Understand the central CAR RNG prompt, populate open car pads, collect traffic toll income, and avoid spending on high-cost rolls prematurely.
Player Task: Compare the visible payoff between buying replacement cars, leveling up Toll Level (multiplier & timer), increasing Roll Amount, or buying Roll Luck.
Player Task: Move the cars you want to keep into a garage parking slot, then accept the Next Map Upgrade board that opens Map 2.
Player Task: Prepare for plot reset without trusting conflicting community multiplier claims; verify requirements and reset scope on your live confirmation screen.
Player Task: Check verified facts versus community speculation for newly named systems like Mutation Machine and creator terms like RFID.
Find the exact scenario you are currently facing in-game and jump directly to the owner guide.
Start with the Beginner Guide. Roll cars from the central CAR RNG prompt and place them on empty pads immediately. An empty pad generates zero toll income.
Read Beginner Guide →Follow the Upgrade Order Guide and use the Income Calculator. Compare the net gain of replacing your weakest car against the Toll Level multiplier preview.
Read Upgrade Order Guide →Read the Map 2 guide first. The transfer prompt is headed '!! SAVE YOUR CARS !!' and lists all money, local map upgrades and every car left outside the garage as losses, so store your best cars before you accept.
Read Map 2 Guide →Open the Rebirth Guide. Follow the pre-reset checklist, screenshot your live baseline, and inspect your server's confirmation popup before proceeding.
Read Rebirth Guide →Check our source-watch guides. Mutation Machine is an officially named event term with unverified mechanics; RFID is a video phrase, not an in-game item.
Check Mutation Status →Open the My Toll Farm Script page and copy the current loader. Paste it into your executor, then turn on Auto Roll, Auto Place, or Auto Buy.
Copy My Toll Farm Script →Every spending and progression decision depends on values shown in your own server. Record these 5 data points before applying guide advice.
Determines your immediate spending ceiling without draining working capital.
Empty pads demand immediate filling; occupied pads require net replacement calculations.
The baseline value that any replacement candidate must surpass.
The concrete benchmark that competing car rolls must beat on a payback test.
Allows you to measure whether volume or luck upgrades fit your current income bracket.
Car pads, toll barriers, Toll Level previews, Roll Luck percentages, Roll Amount counts, and observed car names come from frame-by-frame gameplay evidence.
Game identity, JOFO Games creator group, auto-save status, server size 6, and the Welcome! badge come directly from official Roblox platform endpoints.
Exact roll odds tables, fixed S/A/B tier rankings, promo code strings, and universal rebirth reset multipliers are unverified. We do not invent values.
Model your live car income, multiplier, and payback periods.
Review the baseline roster of cars observed in gameplay footage.
Examine the UI anatomy, field definitions, and panel controls.
Check official code verification status and fake code warnings.
Copy the no-key loader for auto roll, auto place, and auto farm.